Cameras
Room cameras for studios where the control room can't see the live room. Show a camera on any wired display or Remote, over your local network.
How cameras work
- A camera source is a device that sends its own camera: this Mac (Mac Camera Source) or a Remote device such as an iPad or iPhone (Send Camera).
- Each source stands in a Location, a room you name, for example Live Room 1 or Drums.
- A Camera Feed on a display shows a Location's live picture, received from whichever device is sending in that Location.
Cameras are not shown on Broadcast. A Broadcast link is public, so it never carries a camera; the editor marks it NO CAMERAS ON BROADCAST.
The Cameras tab
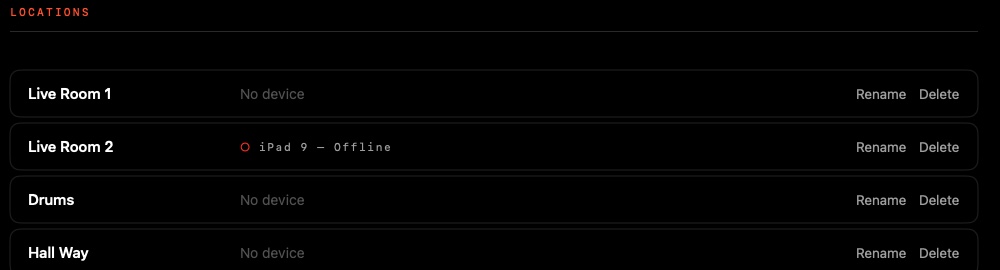
Open the app window and choose the Cameras tab. The header reads Streaming, with a status line under it.
- Start Streaming / Stop: the camera services. They also start by themselves when a Remote shows or sends a camera; this is the manual switch.
- Cameras: every camera source, with its state (for example Connected — Camera Active, Connected — Start Camera On Device, Offline or Camera Not Supported) and, while sending, how many viewers it is serving (Front · 2 of 3 viewers). Use the popup to put a source in a Location, or leave it Unassigned. Forget removes an offline device.
- Locations: type a name in New location name and click Add Location. Each row offers Rename and Delete, and shows who is standing in it: No device (nothing assigned yet), red <device> — Offline, orange (connected, camera not running) or green (connected, camera running).
- Compatibility: what each kind of device can do with cameras (see below).
Video latency depends on hardware and network performance. Two cameras are not frame-synchronised.
This Mac: Mac Camera Source
Mac Camera Source sends this Mac's own camera (built in, a USB / UVC camera, or an iPhone) to your DarkStage displays. In the Cameras tab it is the row named after your Mac and its chosen camera, with a camera popup and an on/off switch; its status reads, for example, This Mac — Camera Active, This Mac — Camera Off or This Mac — Permission Required. Put it in a Location; any Camera Feed showing that Location shows it.
The source and the Device Camera widget are separate. The source decides whether the camera runs; the widget is only a local preview.
| Mac Camera Source | Device Camera widget | Result |
|---|---|---|
| On | Off (or none) | Sending, no preview. The source needs no widget to send. |
| On | On | Sending, with a preview on that display. |
| Off | On | No capture. The widget's status reads Off. |
| Off | Off | Camera released. |
- Closing the app window or hiding the preview does not stop an active source. Switching the source off releases the camera.
- Clear All clears Camera Feeds but never touches the Device Camera or the source.
- On a Button Panel, Mac Camera Source and Mac Camera Source On/Off control the source. Device Camera keys switch only that display's preview.
Choosing the camera
Pick which physical camera to send from the camera popup on this Mac's row. If the chosen camera is unplugged, the popup lists it as <camera> — Missing and the status reads Device Missing. DarkStage never switches to a different camera on its own; plug it back in or choose another.
Camera permission
DarkStage never asks for camera access at launch. macOS asks the first time you deliberately switch the source on in DarkStage's settings. A Button Panel key never triggers the prompt (an overlay could cover it): until access is granted the source reads Permission Required. If access was refused, allow DarkStage in System Settings ▸ Privacy & Security ▸ Camera.
Send Camera: a Remote's own camera
A Remote device can send its own camera. In the WiFi Remotes tab, select the device and switch on Device Camera in its CAMERAS group, then tap the camera on the device. Start, Stop and Front / Rear are on the device; the Mac can't start it.
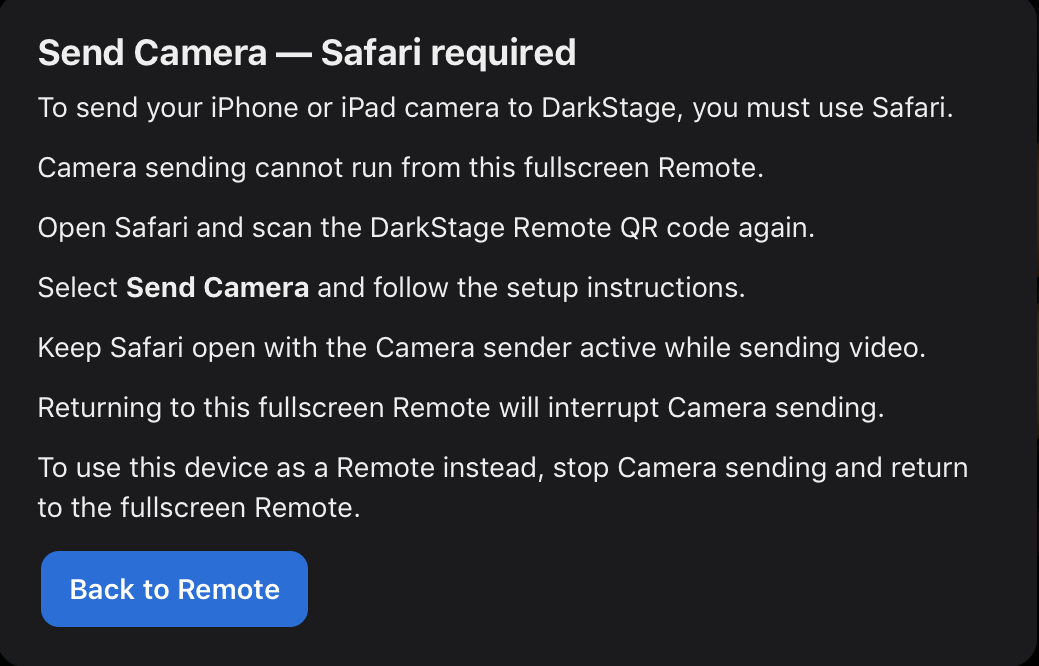
Send Camera works in Safari, not in the installed Remote. If you added DarkStage Remote to your Home Screen and run it fullscreen, it cannot send a camera. Open the Remote in Safari instead, and leave Safari open with the camera running while you send. Going back to the fullscreen Remote stops the camera.
Choosing Send Camera inside a fullscreen Remote shows a short notice saying the same thing, with a Back to Remote button. Nothing is broken when you see it — the Remote itself keeps working normally; only sending has to happen in Safari.
Sending needs a secure connection, so each sending device needs a one-time setup. Viewing cameras never needs it. Do all of this in Safari:
- In Safari, scan the DarkStage Remote QR code to open the Remote, and choose Send Camera. The setup card lists the same four steps.
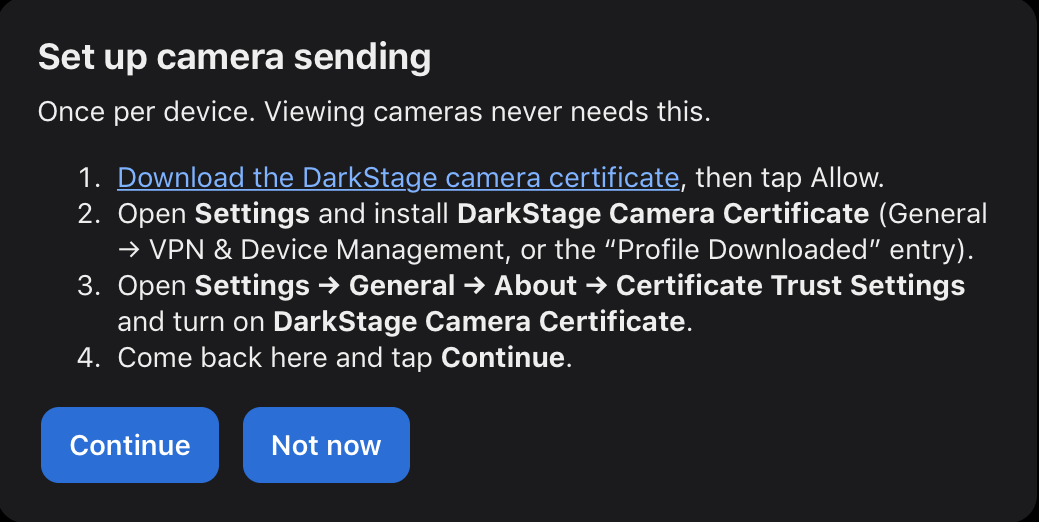
Step 1 — the setup card. Once per device: viewing cameras never needs any of this. - Tap Download the DarkStage camera certificate, then tap Allow.
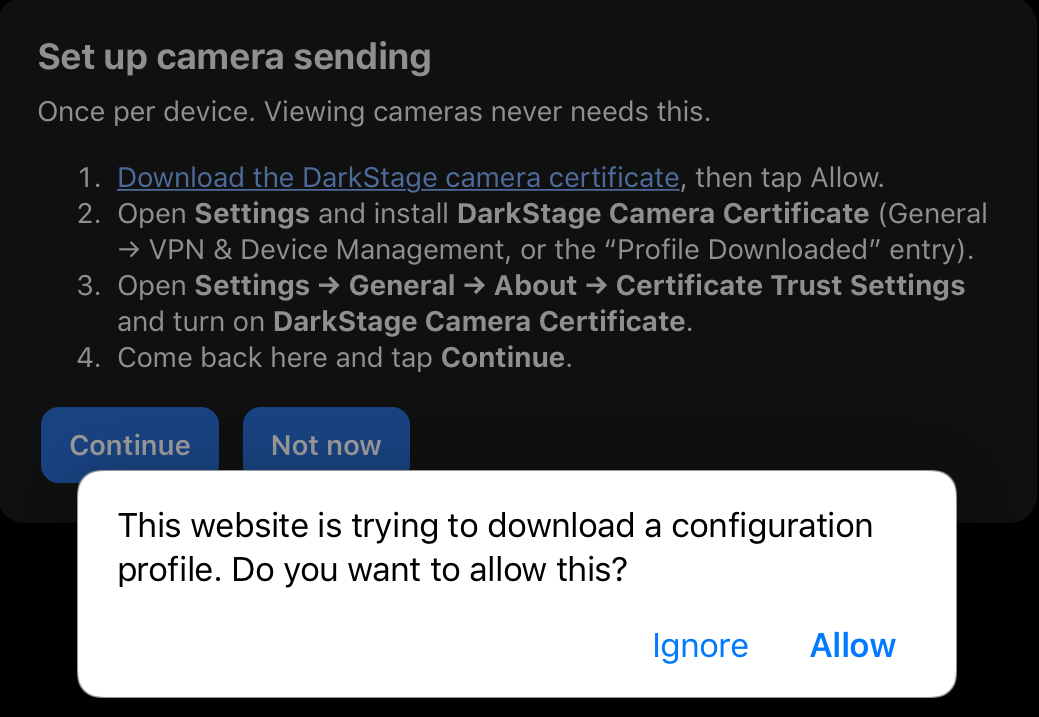
Step 2 — iOS asks before downloading the profile. Tap Allow. - Open Settings and install DarkStage Camera Certificate (General ▸ VPN & Device Management, or the “Profile Downloaded” entry). Tap Install.
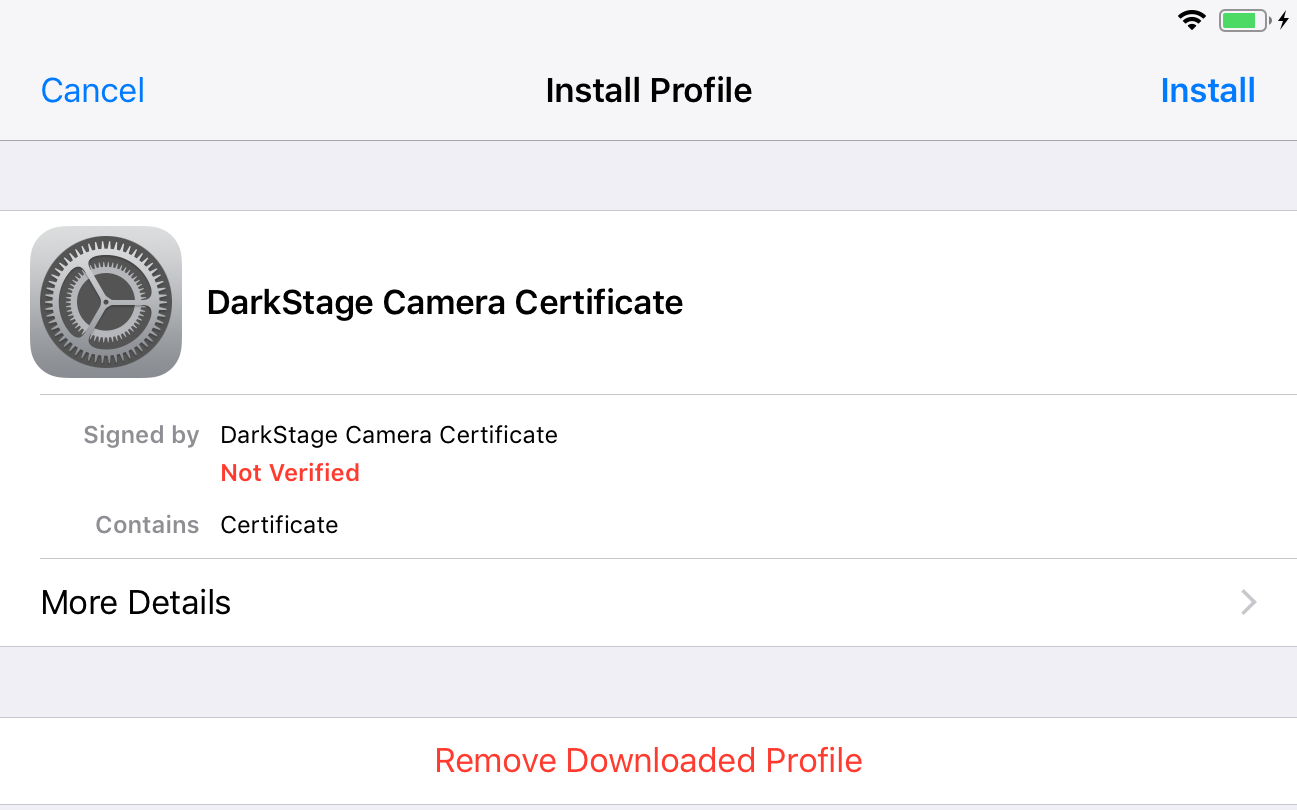
Step 3 — Not Verified is expected. The certificate is signed by itself, because your own Mac issued it; nobody else has vouched for it. 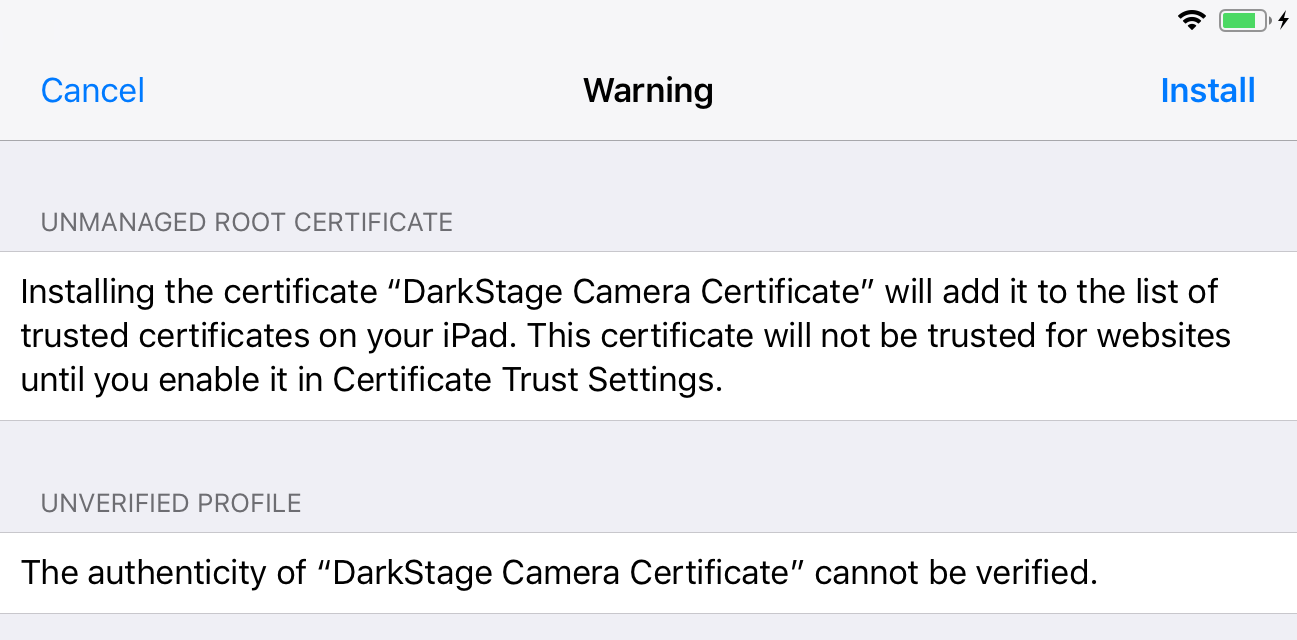
iOS then warns you properly. Read it — this is a real root certificate, and the warning is doing its job. Tap Install again only if you reached this from your own DarkStage. 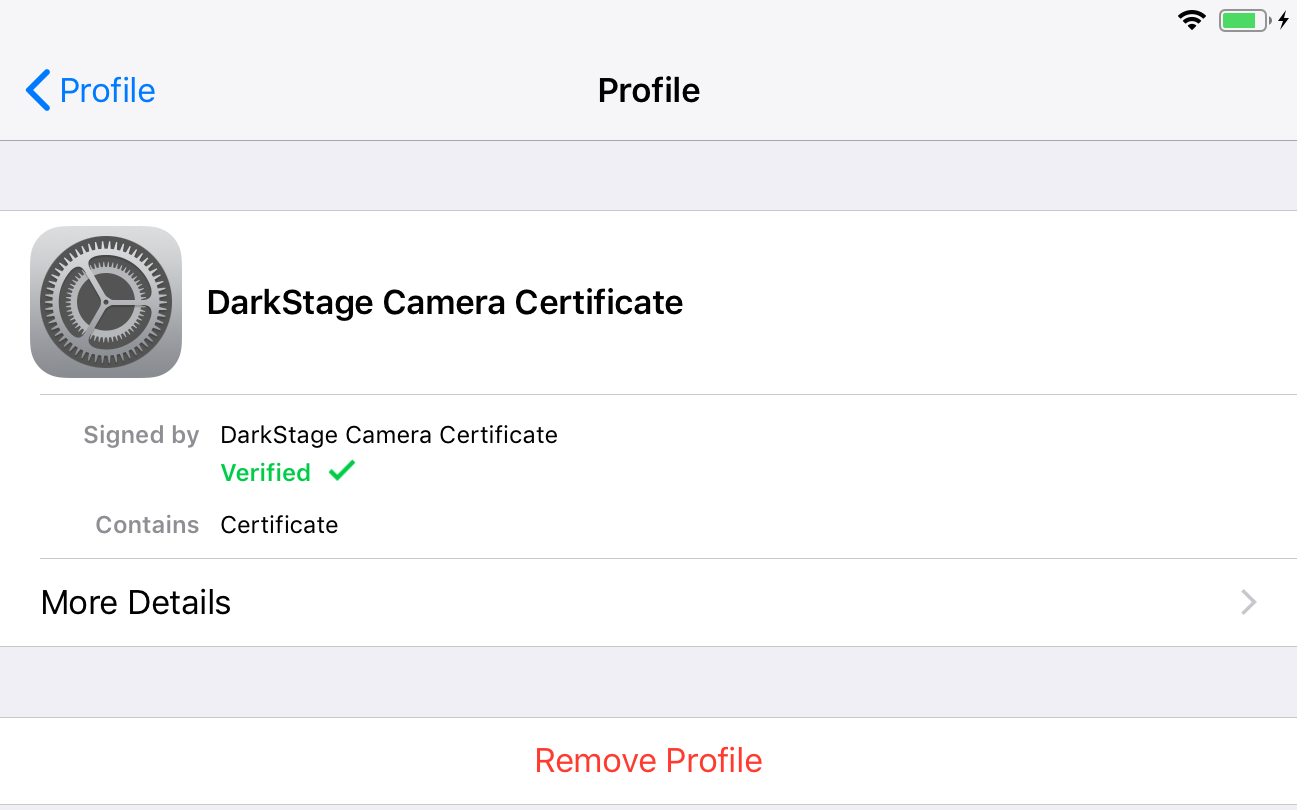
Installed. It now reads Verified — the iPad has the certificate, but it is not yet trusted for websites. - Open Settings ▸ General ▸ About ▸ Certificate Trust Settings and turn on DarkStage Camera Certificate. Without this switch the certificate is installed but unused, and Safari will still refuse the secure connection.
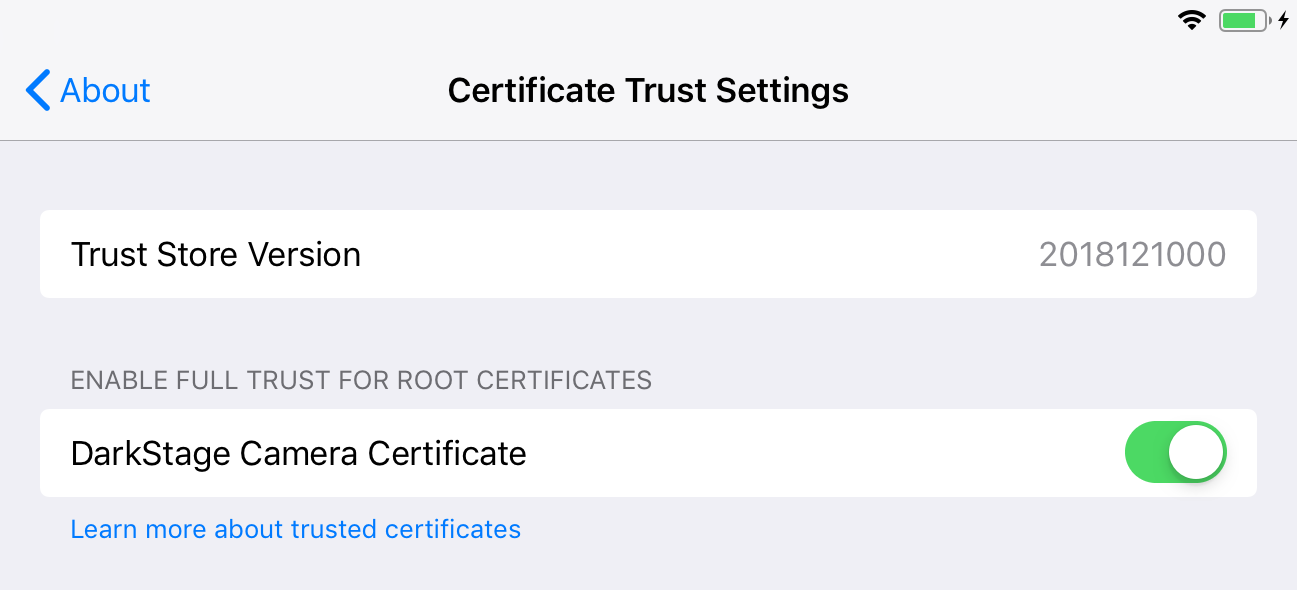
Step 4 — the switch that actually matters. This is the step people miss. - Return to Safari and tap Continue. It reopens on the secure Remote address (port 8912).
- Tap Start, and keep Safari open and in front for as long as you are sending.
Only install a certificate you reached from your own DarkStage. This one is generated by your Mac, for your network, so Safari will accept a secure connection to it. Turning on full trust for a root certificate is a genuine security decision: it tells the device to trust anything that certificate signs. If a page you did not open from your own DarkStage Remote asks you to install a certificate, tap Cancel. You can undo this at any time with Remove Profile, or by turning the Certificate Trust Settings switch back off.
- Sending always uses Safari, on every iOS and iPadOS version that can send. The Home Screen Remote is for viewing and control.
- iOS 9: cannot send a camera.
- To use that device as a Remote again, stop the camera first, then switch back to the fullscreen Remote.
- Apple may stop the camera when the browser goes to the background, the page reloads or the device sleeps. Press Start again on that device; DarkStage can't restart a camera Apple has stopped.
Two walkthroughs
Send your iPhone camera to DarkStage
End to end, the first time. Later sends skip steps 3–5.
- On the Mac: open the WiFi Remotes tab and make sure the phone is already paired as a Remote (QR Connect, scan, done). Select it in the device list.
- In its sidebar, open CAMERAS and switch on Device Camera. This is the phone acting as a source.
- On the phone, in Safari — not the Home Screen app — open the Remote by scanning the QR code again, and choose Send Camera.
- Work through the one-time certificate steps above: download, install in Settings, then turn it on under Certificate Trust Settings.
- Back in Safari, tap Continue. The Remote reopens on its secure address.
- Tap Start, and allow camera access when iOS asks. Use Front / Rear to pick the lens.
- Leave Safari open and in front. The status line reads Camera Active with the viewer count.
- On the Mac, put a Camera Feeds widget on any display and set it to that camera’s Location.
Do not switch the phone back to the fullscreen Home Screen Remote while sending — that stops the camera. Finish sending first.
Show a camera on a Remote
Any Remote can watch a camera, and this needs no certificate and no Safari — receiving is the easy direction.
- On the Mac, open WiFi Remotes and select the device that should watch.
- In its sidebar, open CAMERAS and switch on Camera Feeds.
- Click the widget to open its settings and choose the Location you want — the live room, the drum booth, whatever you named it.
- Set Picture to Fit to see the whole frame, or Fill to fill the box and crop.
- Drag it into place on the canvas and size it like any other widget.
Need two angles at once? Camera Feeds is multi-instance — add a second from the Instance row and give it another Location.
Camera Feeds widget
Under CAMERAS in the Wired Displays or WiFi Remotes sidebar, Camera Feeds shows cameras on that display. Each feed shows one Location; set Picture to Fit (the whole picture inside the box) or Fill (covers the box and crops the overflow).
- Camera Feeds is a multi-instance widget, up to 8 per display: add and manage instances on its page (the Instance row). Its sidebar switch is the master: switching it off keeps each instance's own switch, and switching it on brings back exactly those instances.
- Switching Camera Feeds off only stops this display watching. It never stops the camera on the sending device, and never affects another display.
- A wired display can show several cameras.
Device Camera widget
On a wired display, Device Camera shows a local preview of this Mac's camera. Switching the widget off never stops the camera. Its Status reads, for example, Camera Active · 1 of 3 viewers, Off, Starting…, Permission Required, Permission Denied, Camera Restricted, No Camera Found or Device Missing — <camera>.
On a Remote, Device Camera is that device's Send Camera.
Example studio camera locations
A worked example of how Locations map onto a real building. Four rooms, four cameras, four names — and every wired display or Remote in the place can call up any of them. Nothing here is fixed by DarkStage: you name the rooms, and the names are what everyone sees.
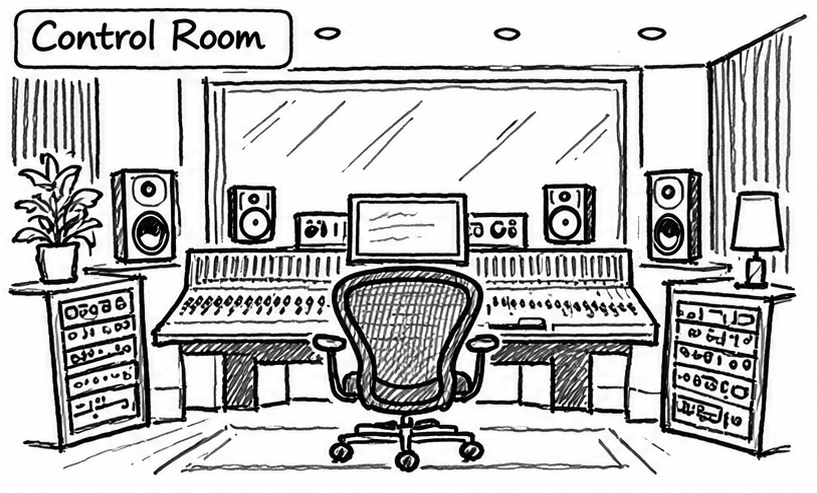
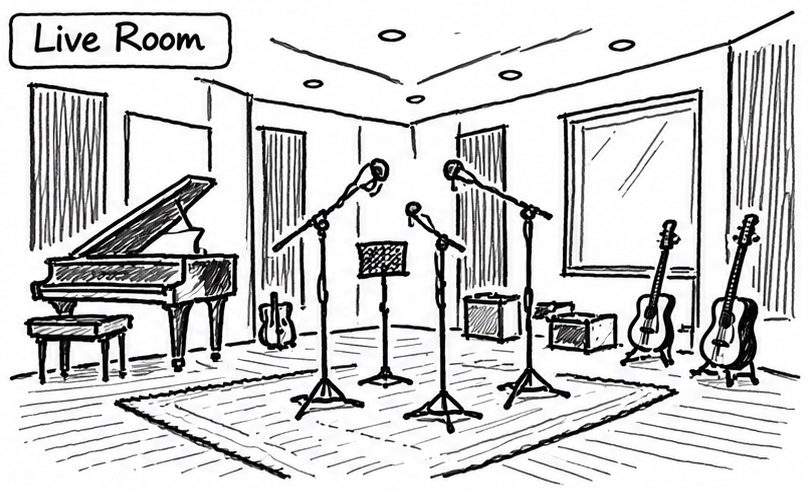
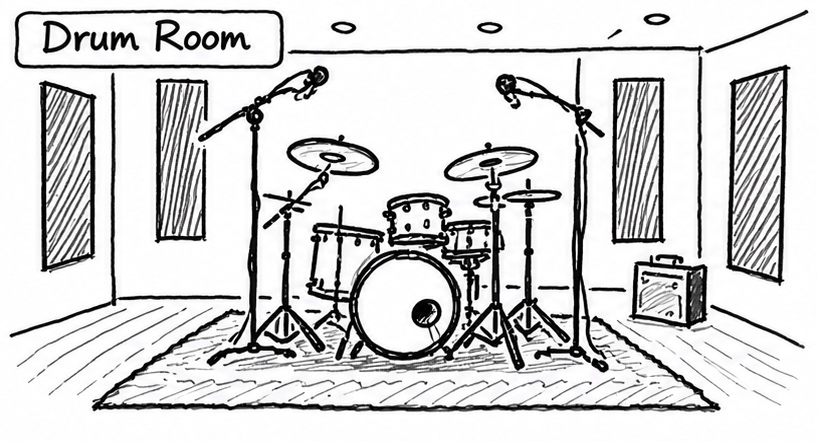
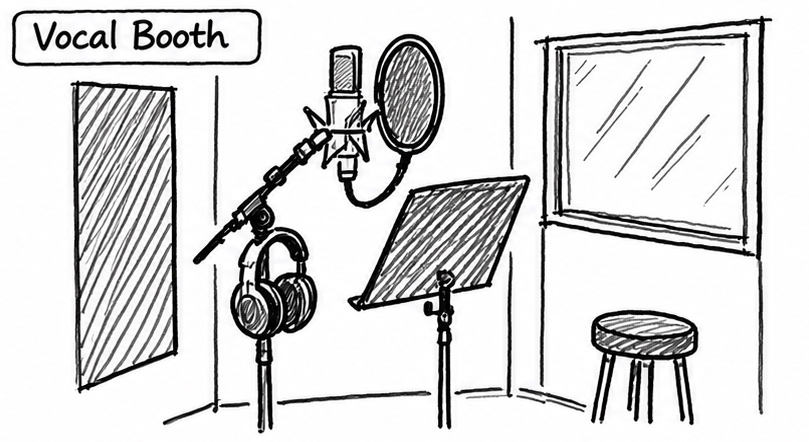
These drawings illustrate possible studio camera locations. They are not live feeds or screenshots from connected cameras.
Name Locations after the room, never after the device. The iPad in the booth may be swapped for a phone tomorrow; Vocal Booth stays true either way, and every display pointed at it keeps working.
Example multi-room studio setup
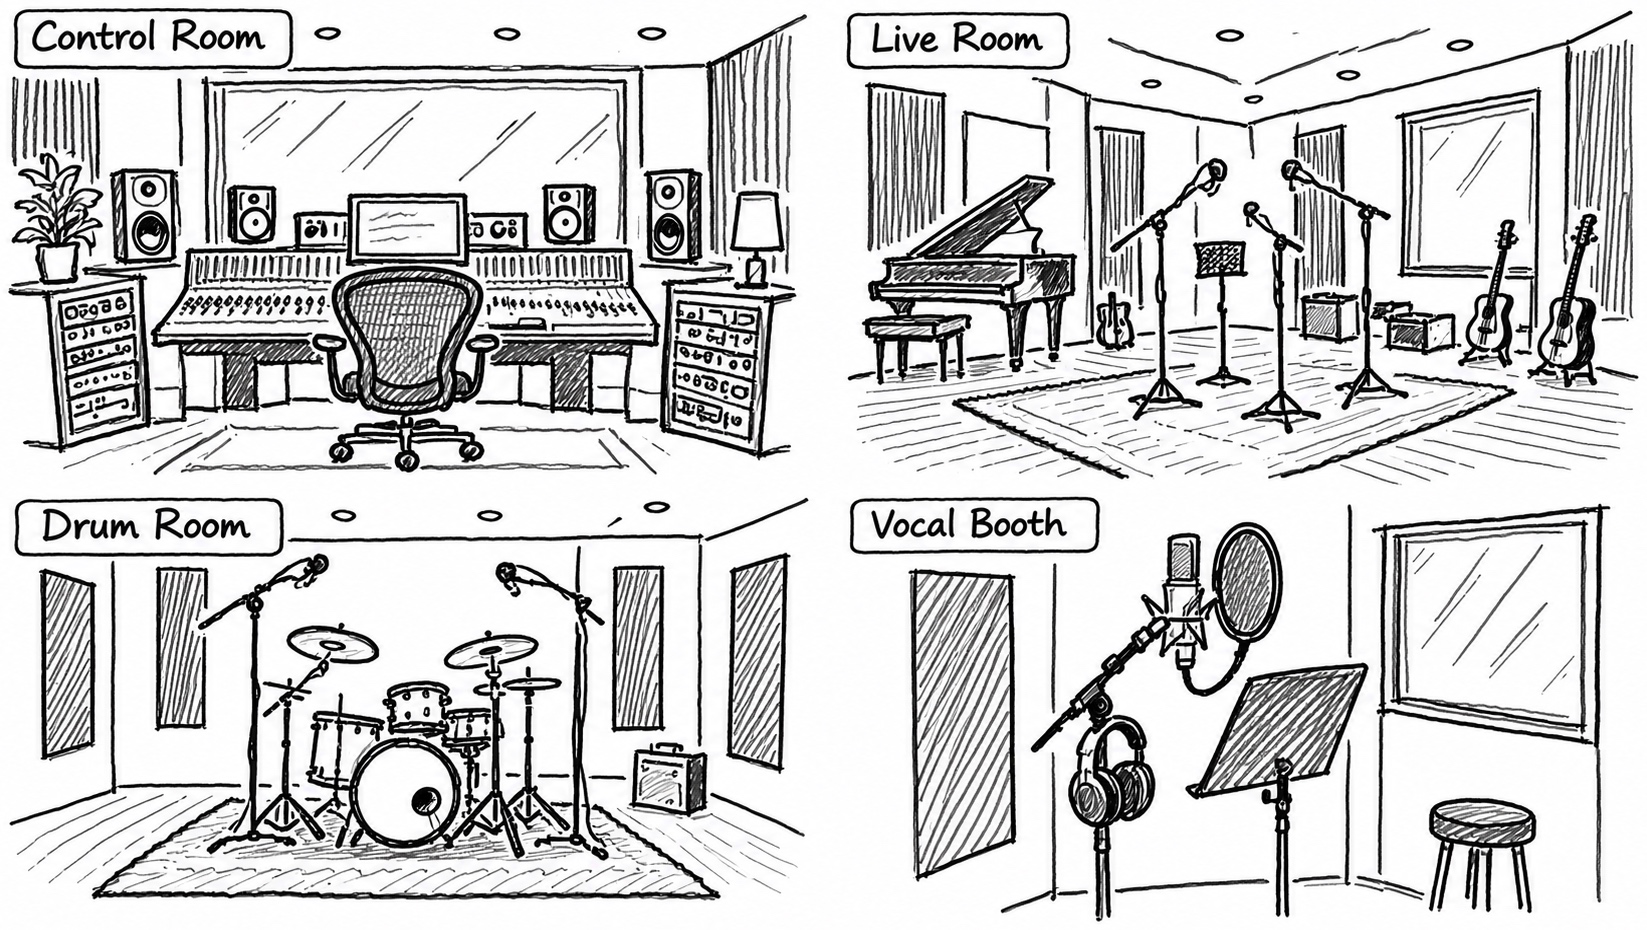
With these four Locations named, a single Camera Feeds widget on the control-room display can hold any one of them, and a second instance can hold another — up to eight per display. The engineer watches the booth; the assistant's Remote watches the drum room; nobody shouts down a corridor.
Limits in this beta
- Each viewer is a separate stream from the sending device, so one source serves at most 3 viewers. Every extra viewer costs the sender another encode. A fourth viewer shows Viewer limit reached and connects by itself when a place is free.
- Performance depends on the device, its browser, your Wi-Fi, how many are watching one camera, and whether a device sends and receives at the same time.
Compatibility
| Device | Remote | Receive | Send |
|---|---|---|---|
| iOS 9 | Yes | No | No |
| iOS 12 | Yes | Yes | Safari |
| Newer iOS / iPadOS | Yes | Yes | Safari |
| Wired Displays (Mac) | — | Yes | — |
| Broadcast | — | No | No |
Troubleshooting
| You see | Try |
|---|---|
| The Remote keeps offering Set up camera sending | The certificate isn't trusted yet. Finish step 3 above: Certificate Trust Settings ▸ DarkStage Camera Certificate on. |
| Permission Required or Permission Denied | Switch the source on in the Cameras tab to get the macOS prompt, or allow DarkStage in System Settings ▸ Privacy & Security ▸ Camera. |
| Off (Device Camera), This Mac — Camera Off or Camera off (a feed) | The source is off. Switch on Mac Camera Source, or press Start on the sending device. |
| Device Missing | The chosen camera is unplugged. Reconnect it or choose another camera. |
| No camera assigned | Nothing stands in that Location. Assign a source in the Cameras tab. |
| Waiting for camera… or Camera link unreachable | The sender is offline or reconnecting. Check both devices are on the same network; the feed reconnects by itself. |
| Viewer limit reached | The source already serves 3 viewers. Close one, and this feed connects by itself. |
| Camera not supported on this device | That browser has no live video (for example iOS 9). |